Generate the dark mode (or light) of a screenshot
Want to see how your app or website would look in dark mode without touching a line of code? A screenshot is enough. Color Studio can invert the image's lightness while keeping the colors —the real basis of dark mode— and give you the dark (or light) version instantly, with a before/after to compare. And if you have your own color scheme, you can apply it. All free and in your browser: the screenshot isn't uploaded anywhere.
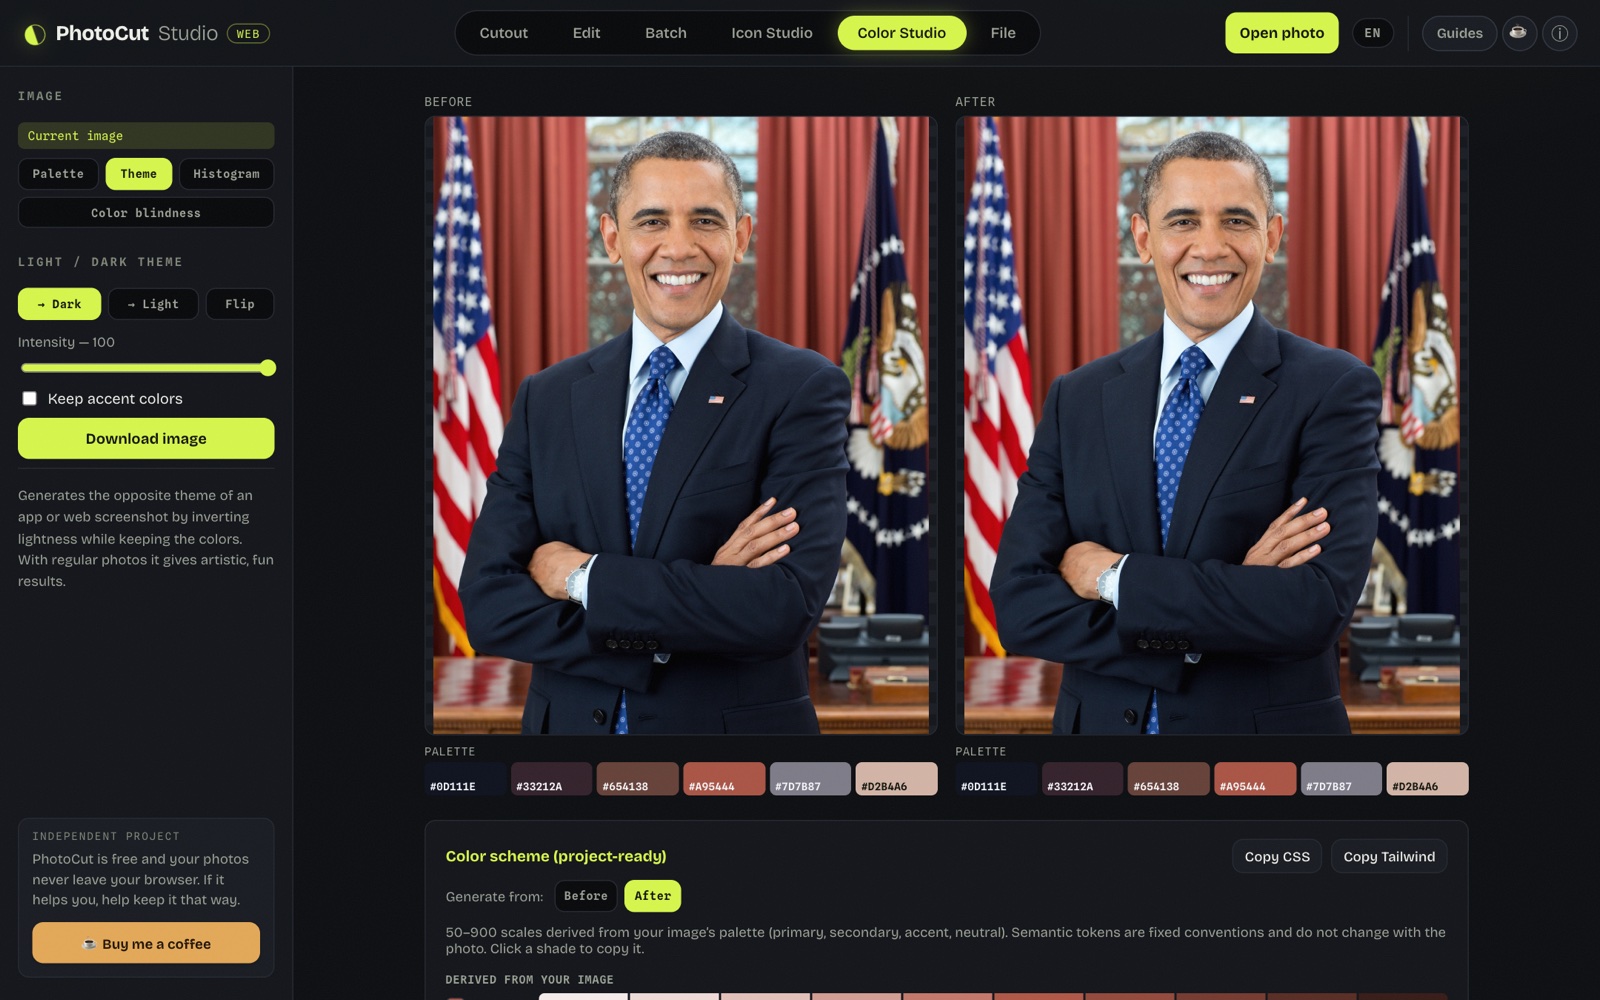
How the Theme mode works
It's not a simple "negative" of the photo. Inverting the colors outright turns blues orange and everything looks wrong. The Theme mode inverts only the lightness of each pixel and keeps the hue and the saturation: that's why a white background becomes dark, black text lightens, and a blue button stays blue (lighter). It's exactly what a good dark theme does.
Step by step
- Go to Color Studio and open the screenshot (or use the image you already have loaded).
- Choose the Theme mode and the target: Dark, Light or Invert.
- Compare the original with the generated version in the Before and After panels.
- Download the result as PNG.
The Dark and Light targets only invert if needed (depending on whether the screenshot is already light or dark); Invert always forces the change.
We tested it: from a light screenshot to a dark theme
We loaded a screenshot and the Dark mode inverted the lightness keeping the colors (with an option to keep the accents), showing before/after side by side. With UI screenshots it gives a realistic starting point; with regular photos, an artistic effect.
The most useful part for development: besides the image, it generates the derived color scheme (50–900 scales) ready to copy as CSS or Tailwind and paste into the project. All local, without uploading the screenshot.
Apply your own color scheme
The Recolor mode goes a step further: you paste
CSS, some :root variables, a
Tailwind config or any text with colors (HEX,
rgb(), hsl()), and the tool extracts that palette
and remaps the image according to each pixel's lightness (a
"gradient map"). It's useful to see your screenshot in your brand's identity,
or to explore theme variants from an existing scheme.
What it's for (and what it isn't)
- Yes: quick dark-mode mockups, exploring palettes, pieces for presentations, seeing how an interface "breathes" in dark before coding it.
- Yes, fun: throwing in any photos to see artistic and unexpected results.
- No: it doesn't replace implementing the real dark theme in your CSS —an image is not an interface—, but it's the fastest way to visualize the idea.
It works best with UI screenshots
The "flatter" and more UI-like the image (an app, a site, a dashboard), the better it looks: solid backgrounds and text respond perfectly to the lightness inversion. Photographs with gradients and skin give a more artistic than utilitarian result — but trying them is part of the fun.
Frequently asked questions
Does it really convert an image to dark mode?
It inverts the lightness keeping hue and saturation —the basis of dark mode—: light backgrounds darken, text lightens and colors stay. It works great with UI screenshots; with photos it gives an artistic result.
Can I use it to design my app or website's dark mode?
As a quick mockup from a screenshot, without touching code. It doesn't replace implementing the theme in CSS, but it's ideal to explore the idea or show a mockup.
Can I use my own color scheme as a reference?
Yes, in Recolor mode: you paste CSS, variables, a Tailwind config or any text with colors, and the tool remaps the image with that scheme.
Is my screenshot uploaded to a server?
No. The whole transformation happens in your browser; the screenshot isn't uploaded or stored.
Generate my screenshot's dark mode →More guides and tools
How to choose a color palette
Roles, 50–900 scales and how to derive a palette from an image, ready as CSS or Tailwind.
Color palette & HEX from an image
Pull the dominant colors from an image and read the HEX of any pixel with an eyedropper.