How to change the background of a photo free (color or another image)
Changing a photo's background sounds like Photoshop and hours of work, but in practice it's two steps: separate the subject from the background it already has and put another one behind. The first —the cutout— is the hard part, and it's exactly what automatic cutout does well. The second is just picking a color or an image. This guide covers both variants: a solid color background and a background made from another photo, with the details of when each is best.


The two kinds of "change the background"
Before touching anything it helps to be clear about the result you want, because each is solved differently:
- Solid color background: the most common and the safest. Great for product photos, profiles, resumes, IDs. It's hard to get wrong because there's no second image "fighting" with the subject.
- Background from another photo: placing the subject on a landscape, a texture, a stylish wall or a brand backdrop. More versatile, but also easier to give away the montage if the lighting doesn't match.
Step by step
- Open the photo whose background you want to change in PhotoCut Studio.
- Use AI Cutout to separate the subject from the original background; brush over the areas where the edge looks uncertain (hair, fingers, thin objects).
- In Export, choose the Color mode for a solid background, or the Image mode to put another photo behind.
- If you use a background image, adjust the opacity so it doesn't compete with the subject, and use the scale control to frame it.
- Download as PNG or WebP; use JPEG only when the background is solid and you don't need transparency.
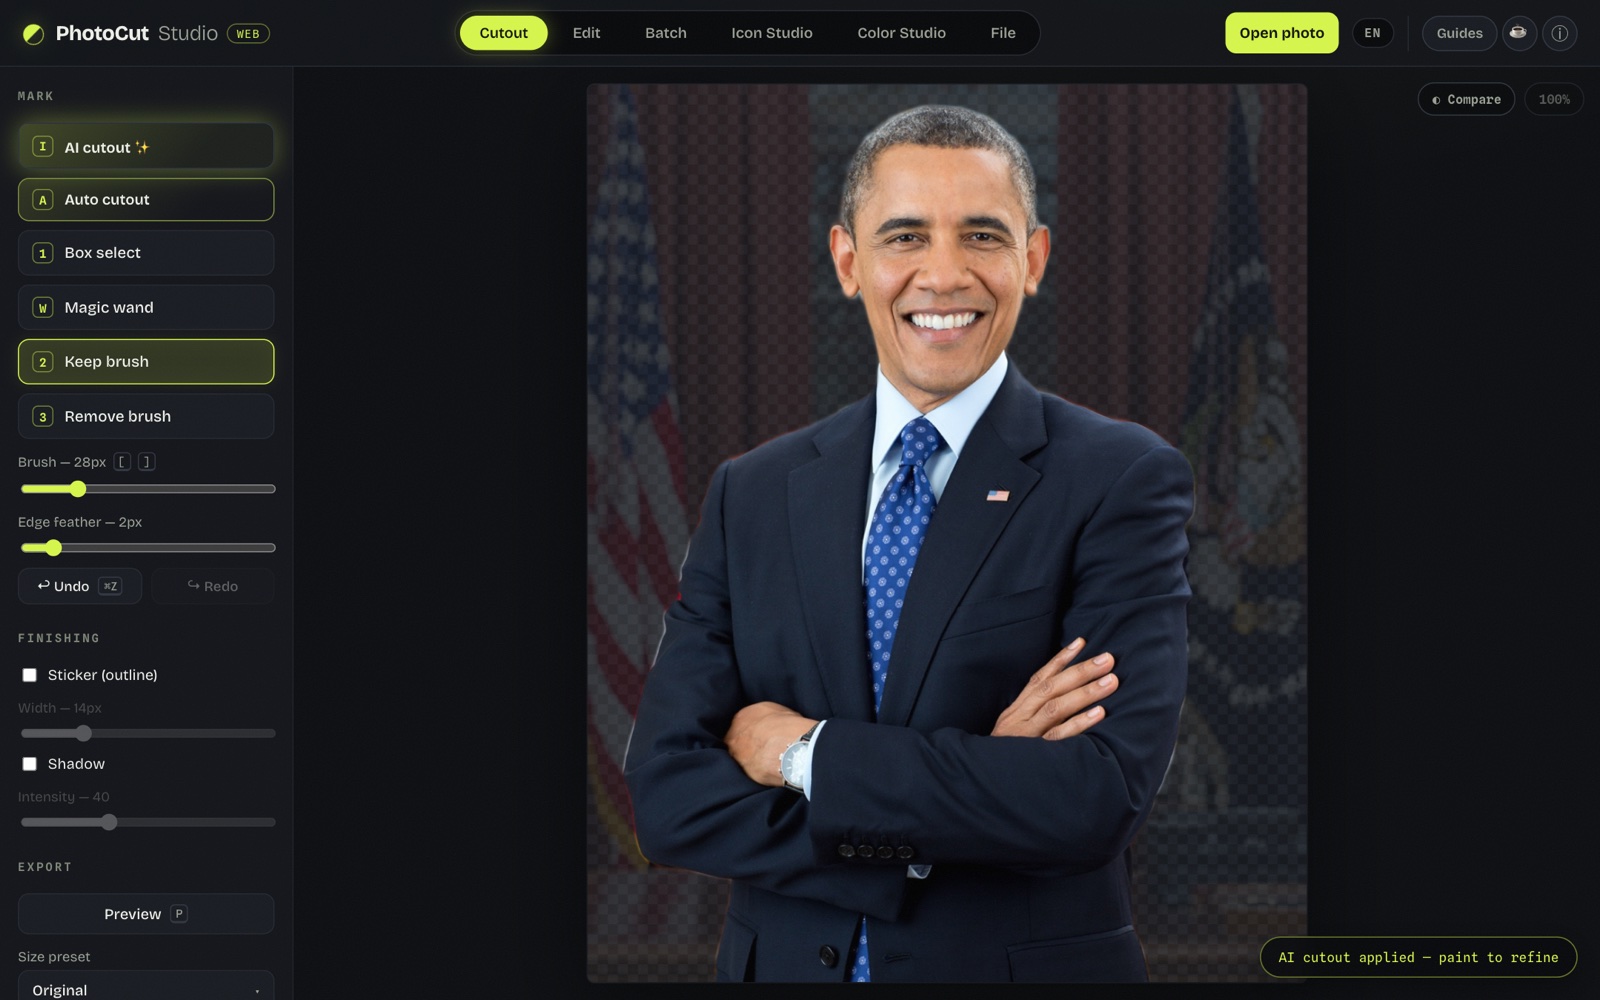
We tested it: cut out first, choose the background after
We cut out the person with the AI Cutout and then changed the background to a studio blue right in the export (solid color mode). The hair edge blended well with the new color with the edge feather at 1–2 px: at 0 the outline looked hard, above 3 it "ate" detail.
The practical takeaway: you cut out once; after that you can try as many backgrounds as you want —color or image— without cutting out again. All in the browser, without uploading the photo.
Color background: the shortcut that almost never fails
When the question is "which color?", the answer depends on the use. For
paperwork, resumes and product photos, pure white (#ffffff)
is the standard. For social media or presentations, a brand color or a
neutral tone (light gray, muted blue) makes the subject stand out without
distracting. The advantage of a solid background is that the cutout
doesn't need to be pixel-perfect: a flat color is more forgiving than a
detailed photo behind.
Background from another image: how to keep it convincing
Placing the subject on another photo is where credibility is at stake. Three things help it not look pasted:
- Consistent light. If the subject is lit from the left, look for a background whose light comes from the same side. A subject in shadow on a sunlit background screams "montage".
- Opacity in service of the subject. Lowering the background's opacity a little pushes it "back" and keeps the eye on the subject. Especially useful with busy backgrounds.
- Clean edge. Over a detailed photo, any leftover of the original background shows. Check the outline with zoom and the before/after compare before exporting.
Common mistakes when changing the background
- Choosing the background before cleaning the cutout. Get the subject perfect first; only then try backgrounds. Otherwise you're adjusting the cutout blind.
- A background that competes with the subject. A background as colorful or detailed as the subject splits attention. When in doubt, simpler is better.
- Exporting as JPEG expecting transparency. JPEG doesn't store transparency: for a transparent background it's PNG or WebP.
- Ignoring the background's resolution. If the background image is smaller than the photo, it'll look pixelated when stretched. Start from a large background.
All in your browser, nothing uploaded
Changing the background means handling two of your images: the original and the background. In PhotoCut Studio both are processed locally, on your device. They aren't uploaded to any server or stored: when you close the tab, nothing is left behind.
Frequently asked questions
Can I use another photo as the background, not just a color?
Yes. Besides a solid color background, there's an Image mode where you add a second photo and the cut-out subject sits in front of it. An opacity control lets you dim it so it doesn't compete with the subject.
Is my photo uploaded to a server to change its background?
No. Both the original photo and the background image are processed in your own browser; neither is uploaded to a server or stored once you close the tab.
Which format is best when changing the background?
If the new background is solid or another photo, any format works: PNG or WebP keep edges better, and JPEG is fine if the result doesn't need transparency. Only avoid JPEG when you want to keep the background transparent.
How do I avoid the subject looking pasted onto the new background?
Take care of the cutout edge with zoom, pick a background whose light and intensity are similar to the original photo, and lower the background image's opacity a little so the contrast doesn't give away the montage.
Change my photo's background →More guides
How to remove the background from an image free (and without uploading it)
The three methods and when to use each, how to do it free with no watermark, and how to remove a background on your phone.
Change photo background
Replace the background with a solid color or another photo, with opacity and framing control.